Pizza dough can easily be obtained, frozen, at most grocery outlets nowadays. Nothing quite satisfies like any kind of bread that you make yourself at home though. The good news is that this is super easy, the only downside is that it takes a few hours. Luckily most of that time is spent waiting, not working. Any dough you don't use can be kept in your freezer. Just be sure to use it up within 3 or 4 months. Otherwise, it will be just fine in your fridge for two weeks. The recipe I'm going to show you will yield enough dough to make four large pizzas, although you could make up to sixteen individual size pizzas. Let's get started!
Ingredients
5 cups of flour
1 sachet of active dry yeast (or about 2 tsps)
1/2 cup of lukewarm water
1 1/2 cups of water
2 tbsp of extra virgin olive oil
1 tsp of sea salt
1 tbsp of honey
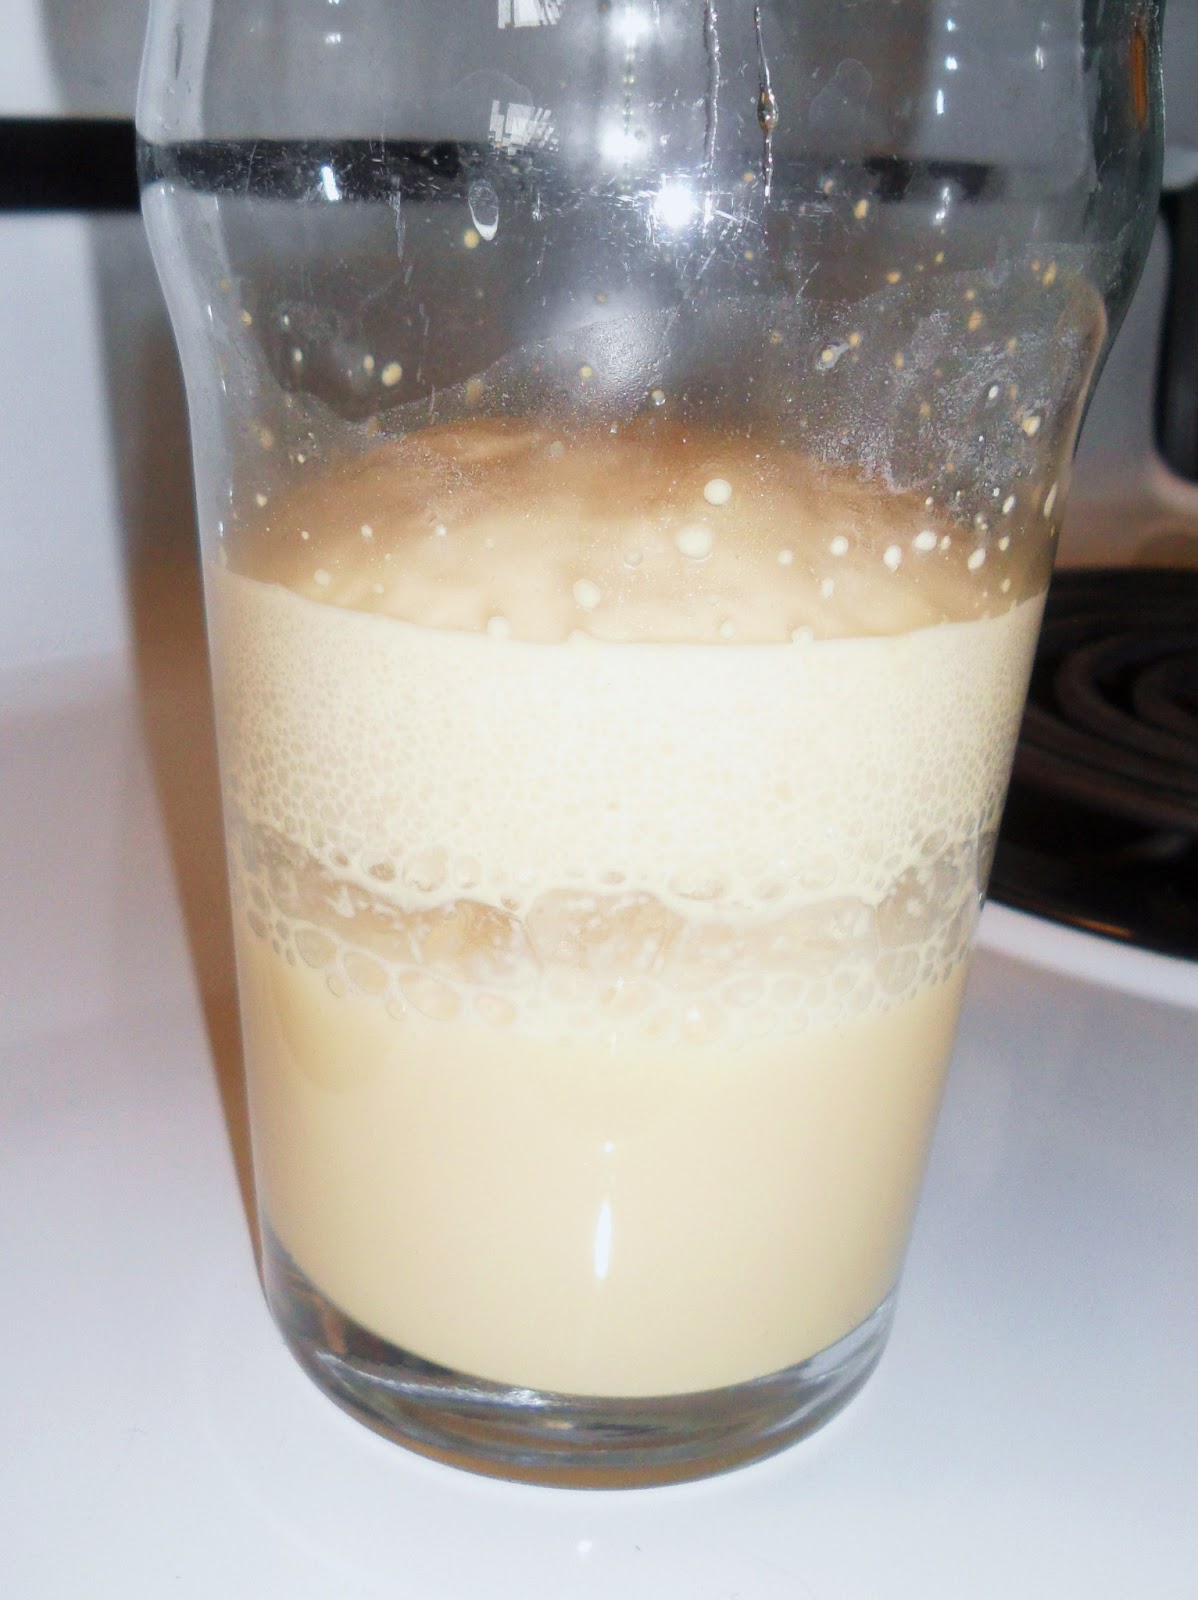
First thing you do is activate your yeast. Pour the 1/2 cup of lukewarm water into a glass. Add the yeast and honey and give a good stir. Leave it for about fifteen minutes. That will wake up the yeast. In other words, the yeast will produce carbon dioxide which will create a foam on top and increase in volume. After fifteen minutes, the yeasty water will look like this:
In a large glass or metal bowl, combine all of the other ingredients. Then add the yeasty water to the bowl and give everything a good mix. The liquids and the solids will combine and begin to form a dough. The consistency of the dough not only counts on the measurements, but also the climate of where you live. If the dough is a little dry, add more water. If it's too sticky, add a little more flour. When the dough becomes annoying to stir (you'll know what I mean), then it's time to turn it out onto a lightly floured surface for kneading. It will look something like this at that point:

Knead the dough for about five to eight minutes or until the dough is very smooth, soft and springy. All that means is folding the dough over itself with the palm of your hand in a continuous manner. This dough is pretty cooperative so it's not really that laborious.

When the dough has reached maximum softness, smoothness and springiness it will resemble something like the following:

Place the dough back in the bowl and cover it with a lid, plastic wrap or a damp cloth. Leave the dough to proof for about an hour or so. Proofing just means letting the dough rise. You'll know it's ready when the dough has doubled in size.
Another way to check if the dough is by ready is by gently sticking your finger into the dough and withdrawing it. The hole you created with your finger should remain in tact without filling back up right away.

Remove the dough from the bowl onto a lightly floured surface. Now is the time to separate the dough into workable pieces. You have the choice of making four large pizzas or up to sixteen individual flatbreads. Sprinkle some flour over both sides of the blade of a sharp kitchen knife (or use a dough cutter, if you have one) and cut the dough into quarters. One quarter will yield one large pizza, two medium pizzas or four individual servings.

When you have your segments, roll them into smooth individual balls of dough again. In the following photo, you can see how I rolled three of the quarters as is and split one of them into quarters again.

When your segments are rolled and ready, place them on a baking sheet and cover them with plastic wrap. Leave them to rise again for another hour or so. They will grow again to about one and a half size.

Now, finally, your patience will be rewarded with ready made flatbread and/or pizza dough. You can choose to freeze them, refrigerate them or use them right away. To prep them, all you need to do is spread them out with your fingers This is a very workable dough. If you get to be an expert, you can toss the dough back and forth between your hands and toss them up in the air. This is how you typically see pizza connoisseurs practice their craft. If not, don't fret. Let gravity work for you by pinching the edge of the dough, working around the whole circumference until an even disc forms. Be careful not to tear the dough, but if you've kneaded it well enough, it shouldn't be an issue.
I hope you give this a try. Please let me know your experience with this recipe and technique. If you have any secrets or pointers, I'd love to hear them. I thought that this worked very well. Stay tuned for a recipe where I used this dough to make festive flatbreads grilled on the barbecue. It is beyond imagination.
B
No comments:
Post a Comment