Important Note: You can use this same technique for a savoury pastry. All you need to do is omit the sugar.
This recipe was passed down to me from my aunt. It is so simple (I've never screwed it up), so straightforward and always works. This is the same pastry that I've used recently for the galette and sweet potato pie. I'm sure it will be used again so it just made sense to make a separate post for it so it can be referenced to later.
Pâte Brisée is not as rich or sweet as shortbread-style pastry (Pâte Sucrée) but it works in so many different applications like tarts, pies and quiche. The secret to perfect, flaky pastry is ensuring that your ingredients are cold (particularly the butter). If the dough becomes too warm while you're mixing it, just place the bowl and contents in the refrigerator for a few minutes until it cools down. Soft butter is the enemy here.
I am a point in my life where I am between food processors (my last one died and I've yet to replace it). This is albeit easier with a food processor but making it by hand is still a novice endeavour. I'll take you through how to make pâte brisée by hand, but at the end I'll briefly go over the food processor method. If making it by hand, it really helps to have a pastry cutter. If you don't have one, you can use a pair of forks or knives. I don't recommend using your fingers because your hands are warm and it will soften the butter (pastry's sworn enemy).
If you've never made pastry before this will open up a whole new world of cooking for you which is always an exciting experience. Yet another fantastic contribution to the culinary arts from the French. Allons-y!
Makes one 10" pie shell, six 4" pie shells or twelve 2" pie shells.
Ingredients
1 1/4 cups all-purpose flour
1 tsp sugar
1/2 tsp salt
1 stick unsalted butter (1/2 cup), cold & cut in small cubes
3-5 tbsp ice water
To ensure maximum coldness, keep the ice water in the fridge until you're ready to use it.
In a large bowl, add the flour, salt and sugar and mix thoroughly.
 |
| A pastry cutter is pictured on the left |
Add the cold butter to the dry ingredients.

Cut the butter into the flour.

When you're done, you should have the texture you see below. The largest remaining pieces of butter will be about the size of small peas.

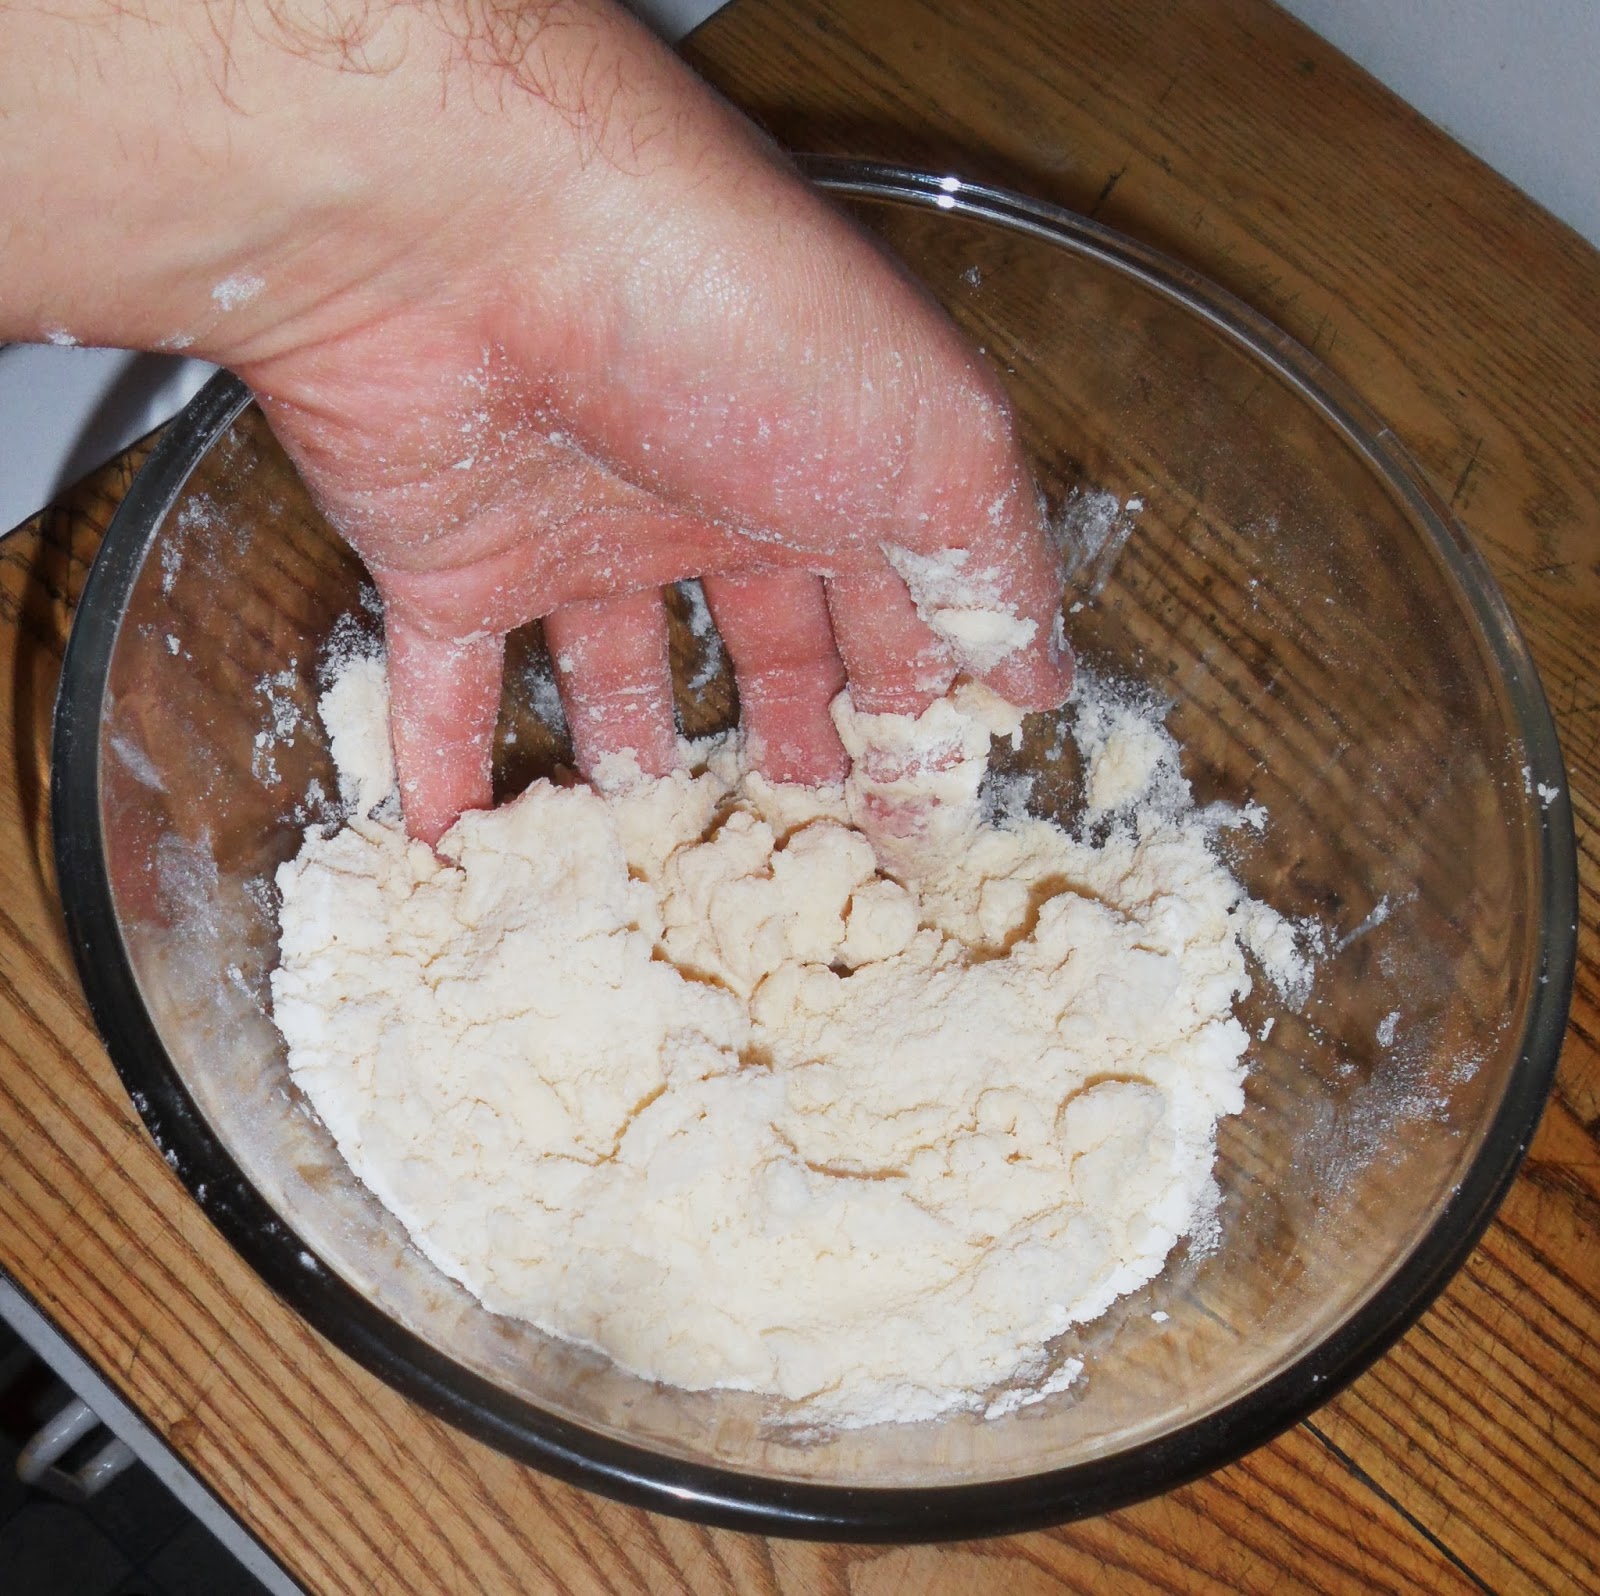
Pour in 3 tbsp of the ice water at first and immediately use your hands to quickly form a dough. Be light and rapid. You want the dough to just hold together. Chances are you will need a couple of extra tbsps of ice water. Add the water 1 tbsp at a time after the initial 3. If you add too much water you'll ruin the pastry. Don't sweat it, though. As important as it is, this not at all hard to do. If you mess it up, be easy on yourself. These are inexpensive and readily available ingredients and you're learning.
Your dough will look something like this when you're done:

Form the dough into a thick, flattish disc with your hands. Put out a sheet of plastic wrap and place the dough in the center.

Tightly wrap up your dough and reserve. Now that the dough has been manhandled it does need to rest and cool down again. I recommend placing in the fridge and using it the next day. If you're in a pinch, place it in the freezer for 20-30 minutes and let it sit at room temperature for a minute before using it. You can make a bunch of these in advance. Leave them in the fridge or if you're planning on using them within a week or two. Or you can freeze them and they will keep for several months.

When you're ready to use it, lightly flour a clean, flat surface (as well as your rolling pin) and roll it out to the desired thickness. For an appealing golden brown look, always lightly brush your pastry with an egg wash before baking it. If you are going to use your pastry for something that requires "blind baking" (cooking the pastry by itself to give it a head start), place it in the oven at 375 F/190 C for 15-20 minutes or until it just starts thinking about changing colour then let cool completely before adding your filling. For something like a tart or quiche, you'll want to line the pastry with a weight so it doesn't puff up and rob you of room for your filling. You can buy weights (which are a waste of money) but I recommend dry beans or dry rice on top of a piece of parchment paper and replacing the rice or beans as required (you can use them several times before needing to replace them).
Food Processor Method: Combine the dry ingredients in the processor fitted with a steel blade. Add the cubes of cold butter and pulse with short bursts until the desired texture is achieved. Add the ice water (same as the by hand method, a little at a time) through the feed tube of the processor while using long pulses until a dough forms that just comes together when squeezed. Add a little more ice water if it is too crumbly. Just remember to be stingy. You can always add more but you can't remove any excess.
Bam! Guess what. Now you know how to make a basic, flaky pastry. When you do it once it will immediately become second nature. All aspects of baking are kind of sciencey and they make a lot more sense once you do them yourself rather than just reading about it. So give this a try with your next tart-like recipe. You will love it.
B
No comments:
Post a Comment